Setup TrueCommand
TrueCommand to manage them all
TrueCommand is a new tool from iXsystems to manage and monitor FreeNas or TrueNas systems. The announce the version 1.1 on twitter and now I feel it is time to have a look at it. I decided to take some screenshots during installation and write this small article to give my first impressions of this new application. So let’s start.
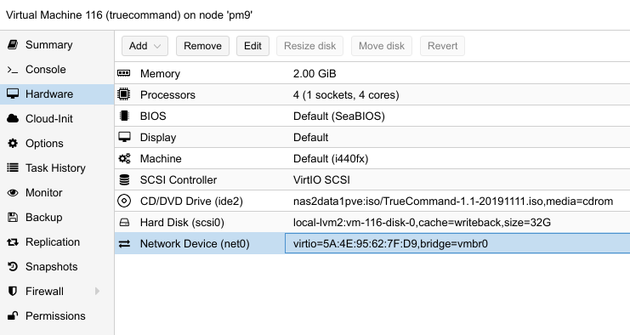
Virtual machine configuration
To run TrueCommand I just create a new virtual machine one of my Proxmox hosts. I have not read the system requirements but think 2GB or RAM and 4 cores should be ok. If not, I will expand it to 4G of memory. I also added a 32G virtual disk to install the system to.
Basic installation
The boot menu of the iso image just provides some options to boot the installation system. I just used the default settings and hit Enter.
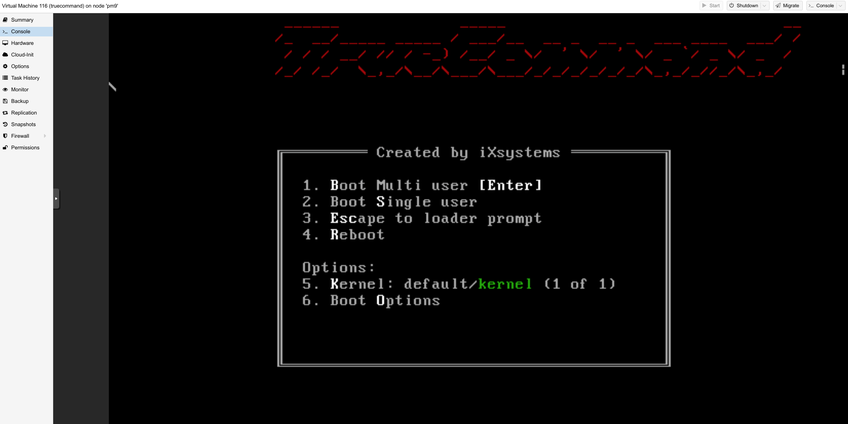
As I want to install the system, I hit Enter once more to start the installation.

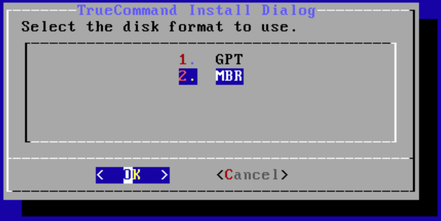
Make sure the right disk is selected and continue to the target partition selection. If you share the disk with another OS (I do not recommend that), you may select the free option to only use the free space on the drive.
I
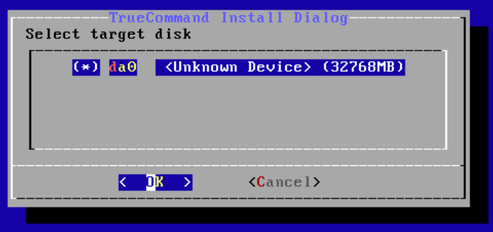
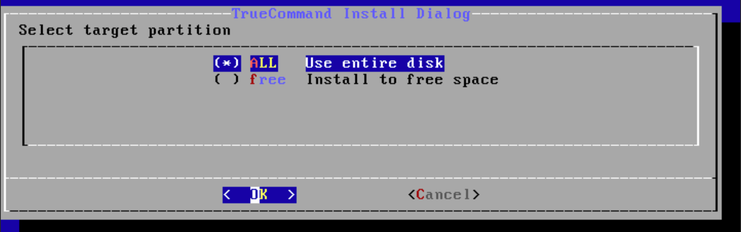
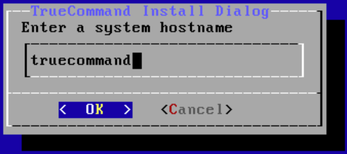
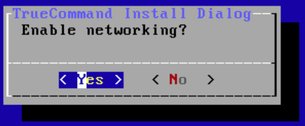
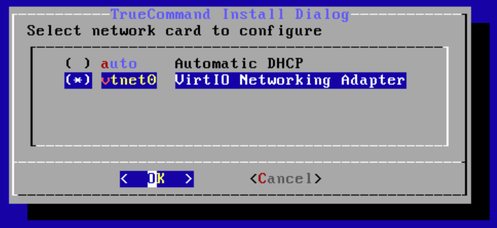
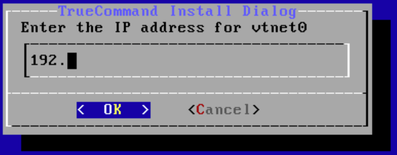
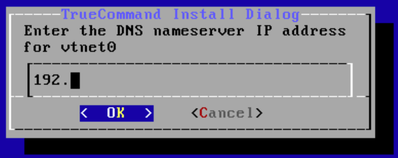
After configuring the disk drive and partition, you have to setup the networking options. Here I just use truecommand as hostname and enable the networking. Next I need to select if the network is configured using dhcp or a manual setup. As usual I reserved a static ip address for this server as well. So selecting the adapter and configuring the ip address and the subnet mask are the next steps.
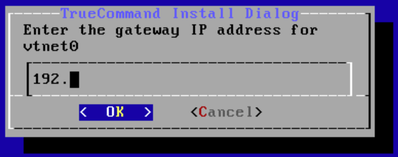
Do not forget to set the right gateway address if you like to be able to get updates for the system.

Finally I enable the ssh service to be able to log in via ssh if I have to.

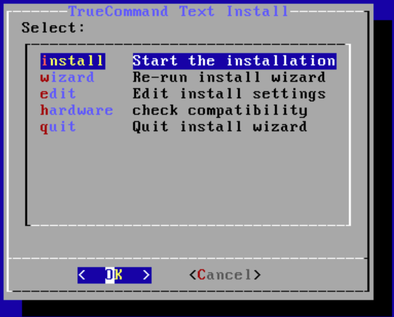
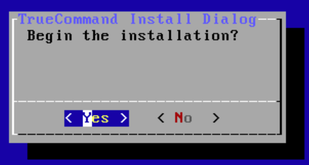
Now that all parameters are set, the installation process can start by selecting the install option and confirm the action to start the installation.
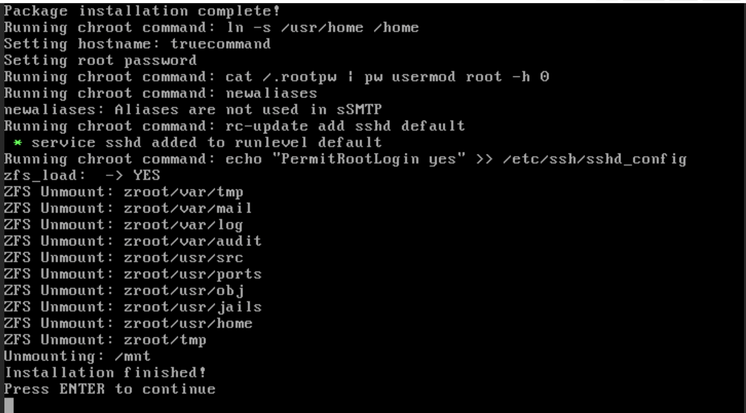
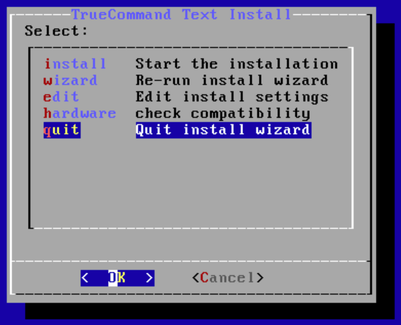
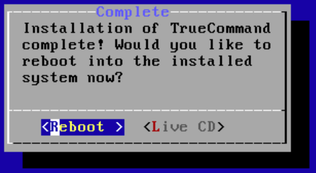
Just hit enter after the installation completed to return to the main installation menu. Next select quit and confirm to reboot the system. As soon as the fresh installation started successfully, aou let the Appliance Status display.
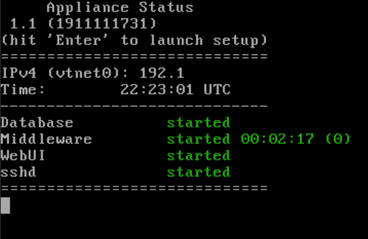
The basic installation is finished but before logging into the GUI, there are some options to configure using the admin console.
First boot configuration on console
After completing the basic installation and booting the server, you should enter the system configuration menu. Just hit Enter when the Appliance Status is displayed.
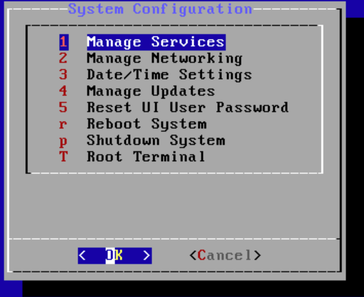
The navigation of this menu is some kind of weired to me. For example if I set an option like the time zone, I have to use Cancel to return from the sub menu to the main menu. I rather would expect something like Back to go to the parent menu. This is because Cancel normally does not save my changes. I woul like to get a Back option or in the menu list or a Back action on the bottom of the dialog boxes.
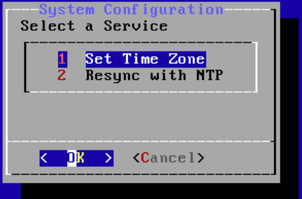
From the main Menu you may manage the services and disable or enable ssh for example. I just left this as it has been set up and went on to the Date/Time Settings.
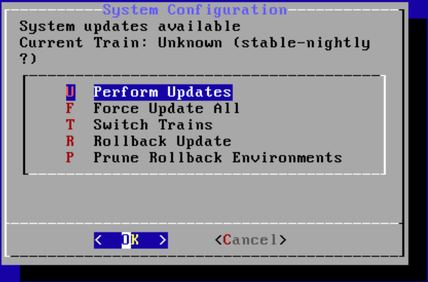
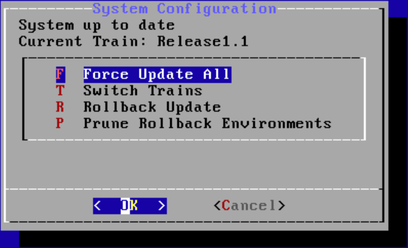
I also went to check the update settings. The default on this setup was set to Unknown (stable) as you see in the screenshot. This is kind of unexpected for a stable 1.1 release installation. Probably I missed some hints on the website ;-)
So before hitting the Update button, just switch the train to Release1.1 to make sure you get only stable increments. If you like to experiment a bit more, just feel free to install the stable-nightlies. After switching the trains, there were no updates available and the system reported that all is on the newest version.

Eventually you finish the basic installation and configuration and reach the point to log into the newly installed system. To do that use your browser and navigate to your server ip address. I registered truecommand as hostname in my local dns server so I used the hostname to go to the login screen.
First login to the web UI
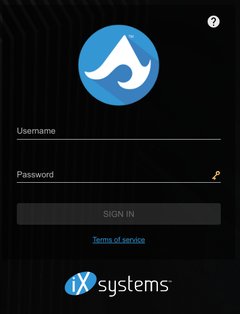
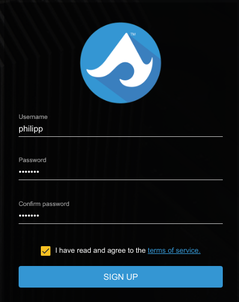
When you reach the main login screen, you have to enter a user and password to log in. By default use admin as user and admin as password. After logging in TrueCommand asks for a username and a password to set up an administration user.
As soon as you hit SING UP the user gets created and the browser returns to the login page. Use your new credentials to log into true nas.
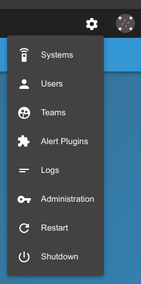
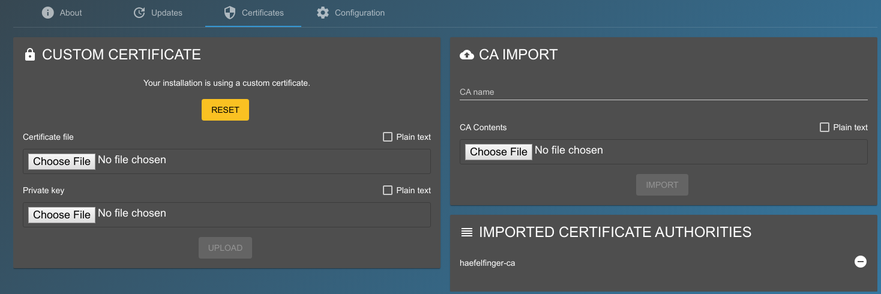
Stop yourself from adding your FreeNAS system at this stage. There are some things that need to be configured before using it. First and most important are the certificates. I run an internal certificate authority and create ssl certificates for all my services. So my FreeNAS boxes do not hav a self singed certificate. To make that work, you have to upload the certificate of your certificate authority. This step is not required but makes it easier in a setup like mine. The alternative is to accept self signed certificates as well to prevent errors.
Beside adding the CA certificate I also uploaded the key and certificate that should be used by TrueCommand to be trusted by my clients.
Now it is time to switch to SSL by navigating to your host again using https.
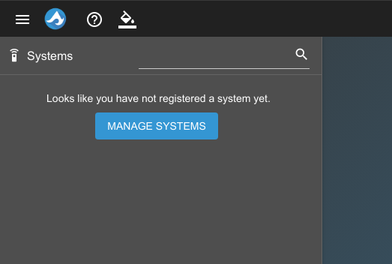
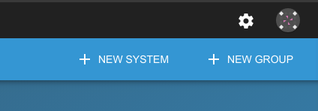
When you configured everything so far eventually your system is ready to connect to your FreeNAS or TrueNAS boxes. I run two FreeNAS boxes and added them to TrueCommand using the MANAGE SYSTEMS button. Just use the NEW SYSTEM button on the top right of the management list.
After entering your system details including the root password, the system gets added and TrueCommand tries to connect to it immediatly. The CONNECTION column show Connected if the box could be added and contacted without any issues. When you see some certificate errors there, edit the system and check the option to accept self signed certificates.
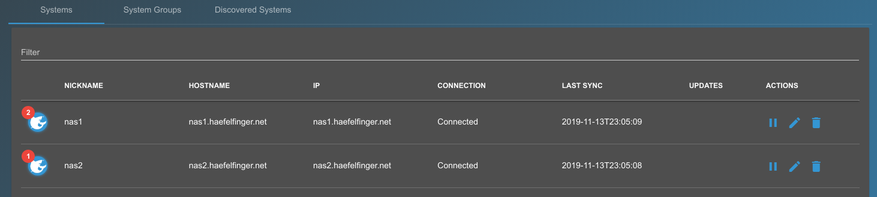
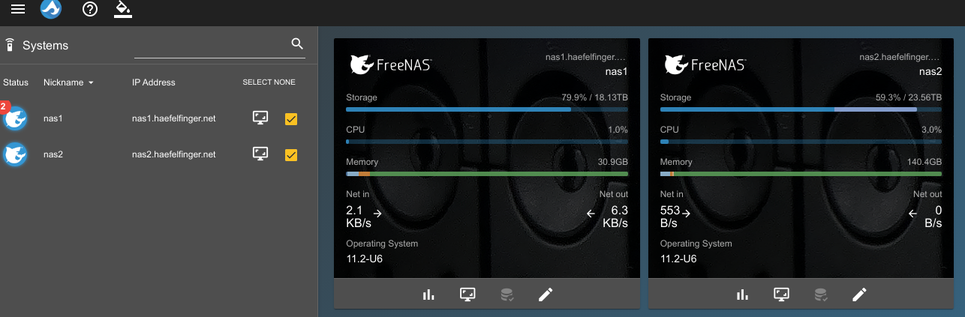
Finally return to the Systems overview and check if the information are present. To see the details of only one box, just make sure the box you want to see is the only with the checkmark option set. You also see all alerts a box if you navigate to the details.
To go to the admin panel of a system just klick on this display styled icon next to the checkmark. This opens the admin panel nicely integrated into TrueCommand.
First impression summary
The setup process was really easy and besides the active update train that is not the right one from my point of view, everything worked quite well. I really like having the information of both systems in one place. This way I do not have to keep two browser tabs open.
One thing I noticed so far: If I keep the browser tab open for multiple days, it freezes at some point and has to be closed and reopened. I also saw the same behavior on the new FreeNAS UI. I am not sure if there is some kind of memory leak. I’ll try to trace it down when this happens again and I can spend some time.
Keeping the overview of two system is not a big deal without TrueCommand but as soon as you have more systems, this tool comes in quite handy.
As I just start using this tool I have no missing features so far. But I am sure the needs will become visible soon.
If you run more than FreeNAS or TrueNAS box, you should definitely have a look at TrueCommand.